3D Scanning
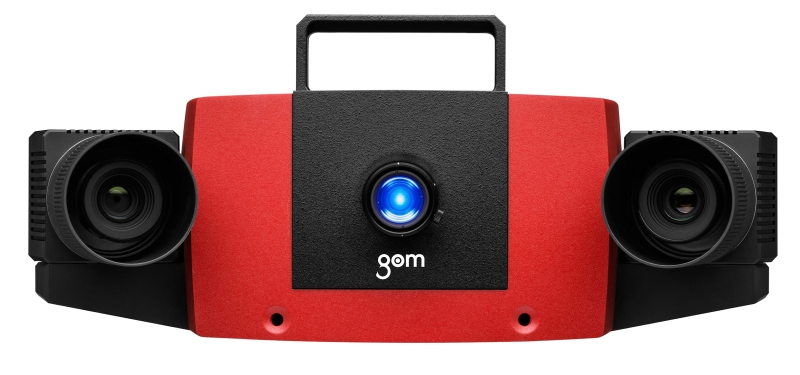
ATOS Compact Scan 3D scanner

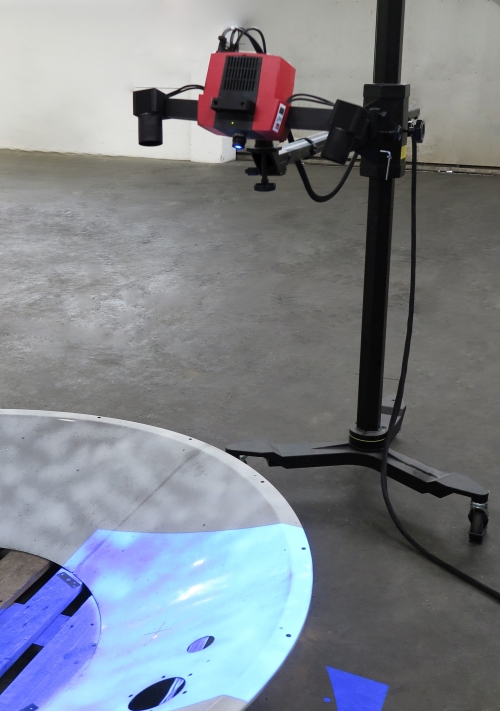
This 3D scanner is a portable optical measuring device based on the principle of triangulation. It projects samples of parallel lines onto an object and records them with two digital cameras. This way we can measure objects in all three spatial directions. Object data, captured using the 3D scanning technology, can then be used in product design for various purposes, e.g. to display an object with a 3D model, to perform accurate measurements, to further develop or reproduce objects, etc.
Scanning process
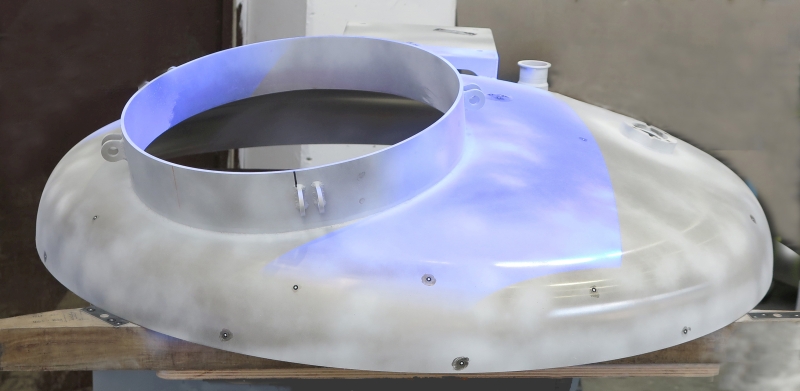
Prior to scanning, the object must be sprayed with oxide powder. The powder forms a thin layer that covers the surface of the object, which makes it nonreflective, thus creating the optimal conditions to capture a perfect image. Each individual scan is then combined to form a 3D image using the markers on the object. These markers are used to correctly identify each individual part of a scanned object.

What is a 3D scanner used for?
A 3D scanner can be used:
- to measure surface deviations compared to the ideal CAD model (product control),
- to digitalize even the smallest details; this is possible thanks to a high scan resolution and has proven to be a great advantage while measuring the small details of an object,
- as an ideal tool for reverse engineering; the scanner enables us to scan the object, check its dimensions, and create a CAD model for the reconstruction of the product.
The ATOS Compact Scan measuring system, combined with the GOM Inspect software is a reliable tool designed for measurement, data processing, and control measurement report preparation. Due to its light frame and components, the new scanner can also be used as a portable measuring system and for field measurements.

